This is part 2 of a multi-part guide on Agisoft Metashape.
In Part 1 we talked about the competing professional photogrammetry products and their costs, now we’re going to go over the installation of Metashape on Microsoft Windows using the 30-day free trial, and in the following parts in this guide we’ll cast out and begin exploring the features.
The version of Metashape being installed is 2.1.0. I doubt major version changes in the future will change this installation workflow, which is pretty much a next, next, finish affair.
Required reading
A good rule-of-thumb on hardware requirements can be found here:
https://www.agisoft.com/downloads/system-requirements/
There are quite a few guides to check out, useful ones at this point would be:
Hardware recommendations
GPU recommendations
Memory recommendations
I couldn’t find a Disk recommendations guide, it would no doubt talk about the importance of achieving high disk IOP’s, placing your project and photograph files onto solid state drives, either via SATA or the PCI-E based NVMe M.2, and putting multiple disks into a RAID 10 array for even better performance. If you turn disk caching on after adding a UPS, you can get a bit more performance out of the RAID array. Its worth noting that if you’re using RAID and turn on disk caching, if a power-cut takes place you will lose data and most likely corrupt the file system on the disk, hence a battery-powered UPS for an automated graceful shutdown before the UPS’s battery runs out. Most people won’t need that kind of setup for performance and reliability, so a slightly spec’d up mid-range PC will often do the job. If you centre your render engine around an expensive laptop, you’re going to be limited when it comes to upgrading in a year or two’s time, so go with a desktop PC straight away.
I recall that DJI Terra will not work without a GPU, whereas Metashape can operate purely on the CPU’s if you wanted it to, but your investment in a decent graphics card is very much key here, part of making sure your rendering platform (the hardware and software) or render engine is going to tear through the workload as quickly as possible. Maybe in another post in the series I’ll cover what an optimal setup would look like, but we’ll leave all that for now.
Installation
The installation is pretty straight forward, the only change I make is to the path for where the application will be installed. I like to change this from the Operating System (OS) drive to another drive, but depending on your setup you might have only a single disk so choose C: as the destination in this case, otherwise put the application on to a separate drive.
This is really just best practice to remove any possible disk read\write contention from the OS disk. I think that due to the way Metashape works, its hardly ever going to touch the disks to load part of itself in and out of memory, but, if you do run very low on memory you won’t want Metashape trying to do this while the OS is trying as well. Like I said, you cannot do this if your hardware setup is a laptop with a single disk drive.
Note: A new disk partition on the same disk the Operating System uses is not the same as creating a partition on another disk
Go download the installer, its sub 200MB in size and is in Microsoft Installer (MSI) form, support is there for macOS and Linux. That’s three key operating systems supported, unlike Terra or Pix4dMatic. If you want to run your render engine on Linux, you can, although I’m not sure if the graphics card drivers are going to be as good as they are for Windows.
https://www.agisoft.com/downloads/installer/
Launch the MSI to begin installation:
Select Next:
Accept license terms and Select Next:
Select Next
As I pointed out earlier, I like to install applications away from the OS disk as much as possible, the same can apply to Metashape, but if you hdo not have another disk go ahead and use the recommended path on C:, and Select Next, otherwise change to whatever drive letter you are using, example would be D:\Program Files\Agisoft\Metashape Pro, Select Next:
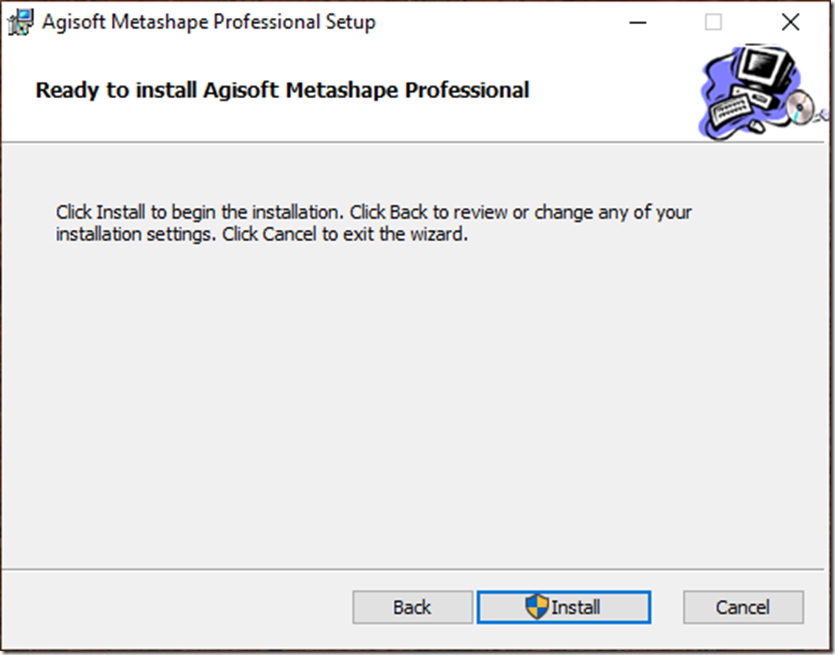
Select Install:
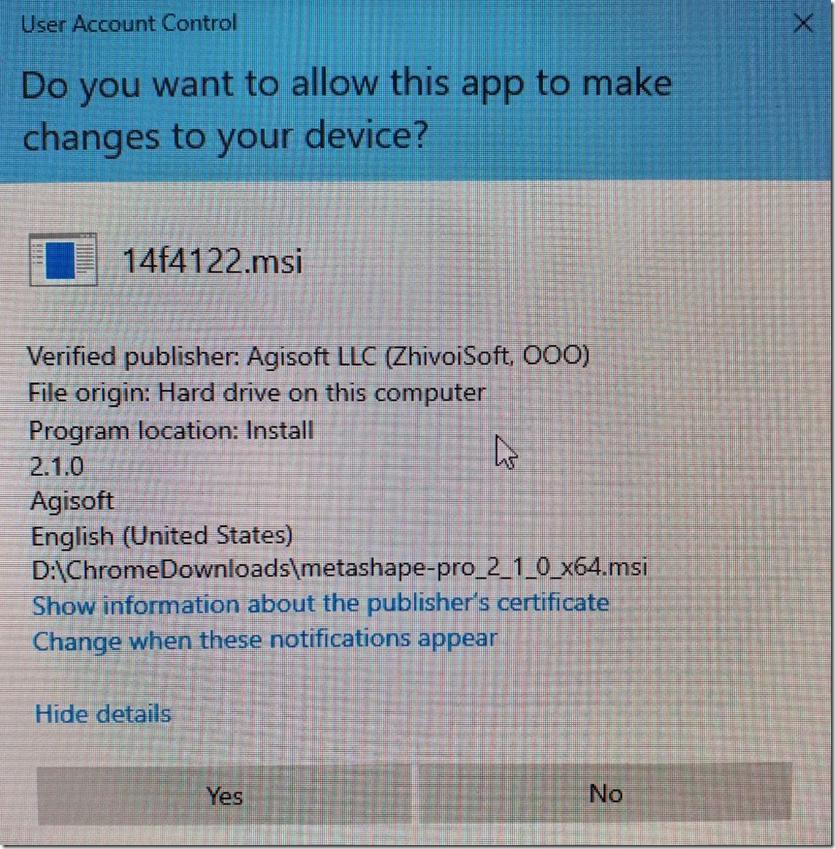
Accept the User Account Control prompt if one is produced by the operating system:
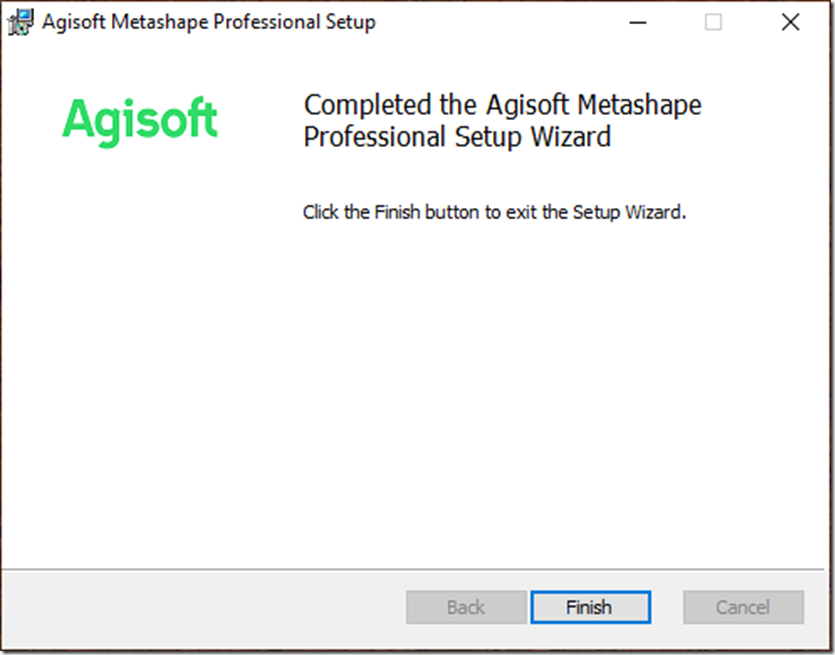
Once its done Select Finish:
Above: You’ll see it appear in the Start Menu if you have one, sorry if you’re on Windows 11, wait for Windows 12 when they re-introduce it:
Now launch Agisoft Metashape Professional.
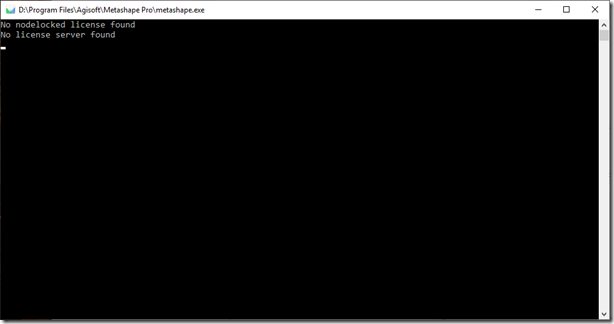
You’ll see a command prompt appear, it’ll note your unlicensed state and shortly after Metashape will load in:
Now its time to activate the 30-day trial
Select Start a free 30-day trial and select OK, after a few moments the licensing will be completed and your trial will begin.
Next steps …
Install Datums \ Geoids
Now would be a good time to fetch a geodetic coordinate reference model, or Datum, that represents the coordinate system needed for your part of the world. Agisoft have quite a few available for us to download:
https://www.agisoft.com/downloads/geoids/
Browse the list and download the ones for your country. The installation instructions are quite clear, download a datum in to a folder called GEOIDS, which is located in the Metashape installation directory.
For the UK both the previous and current datums are available. Copy these to that GEOIDS folder and restart Metashape, you’ll then see them become available for selection when handling coordinate systems for your projects.
Above: The Geoid’s downloaded from Metashape and copied to the GEOIDS folder
Above: The Geoid showing up in-product as a selectable coordinate system
Configure Metashape
There isn’t much that needs configuring out of the box, I’ll post the tabs so you can see what’s there for version 2.1.0.
To take a look yourself open Metashape and go to Tools > Preferences:
Above: General Tab – Depending on how you roll, you can switch from dark to light theme for the application
Above: Appearance Tab – Most of the colours used throughout the interface and some of the UI settings can be modified here
Above: Advanced Tab – Make sure Store absolute image paths is not enabled, otherwise your project files will not be portable
Well that wraps up install and gave you a quick peek at some of the settings that can be changed, as I said before the product’s pretty much ready to use straight out of the box.
Useful links and resources
Here’s some links you might find useful while exploring Metashape and Datums.
Ordinance Survey Data – https://www.ordnancesurvey.co.uk/
OSD OSTN15/OSGM15 – https://www.ordnancesurvey.co.uk/blog/ostn15-new-geoid-britain
OSD OSTN Update Tool (old OSTN02/OSGM02 to new OSTN15/OSGM15) – https://www.ordnancesurvey.co.uk/gps/transformation/updateOSTN
OSD Grid InQuest II ETRS89\WGS84 to OSTN15\OSGM15 conversation software (Windows) – https://www.ordnancesurvey.co.uk/business-government/tools-support/os-net/transformation
ECEF-LLA Converter – https://www.sysense.com/products/ecef_lla_converter/index.html
BNG\NGR to WGS84 Online Convertor – https://webapps.bgs.ac.uk/data/webservices/convertForm.cfm
Notes on coordinate system conversion – https://digimap.edina.ac.uk/help/gis/transformations/
Metashape Manual – https://www.agisoft.com/downloads/user-manuals/
Metashape Knowledgebase – https://agisoft.freshdesk.com/support/solutions
Metashape Tutorials – https://www.agisoft.com/support/tutorials/
Metashape YouTube channel – https://www.youtube.com/channel/UCPheXwPeFLnWHo8u4ksSH7w


Pingback: Metashape Guide – Part 1 – EV Blog